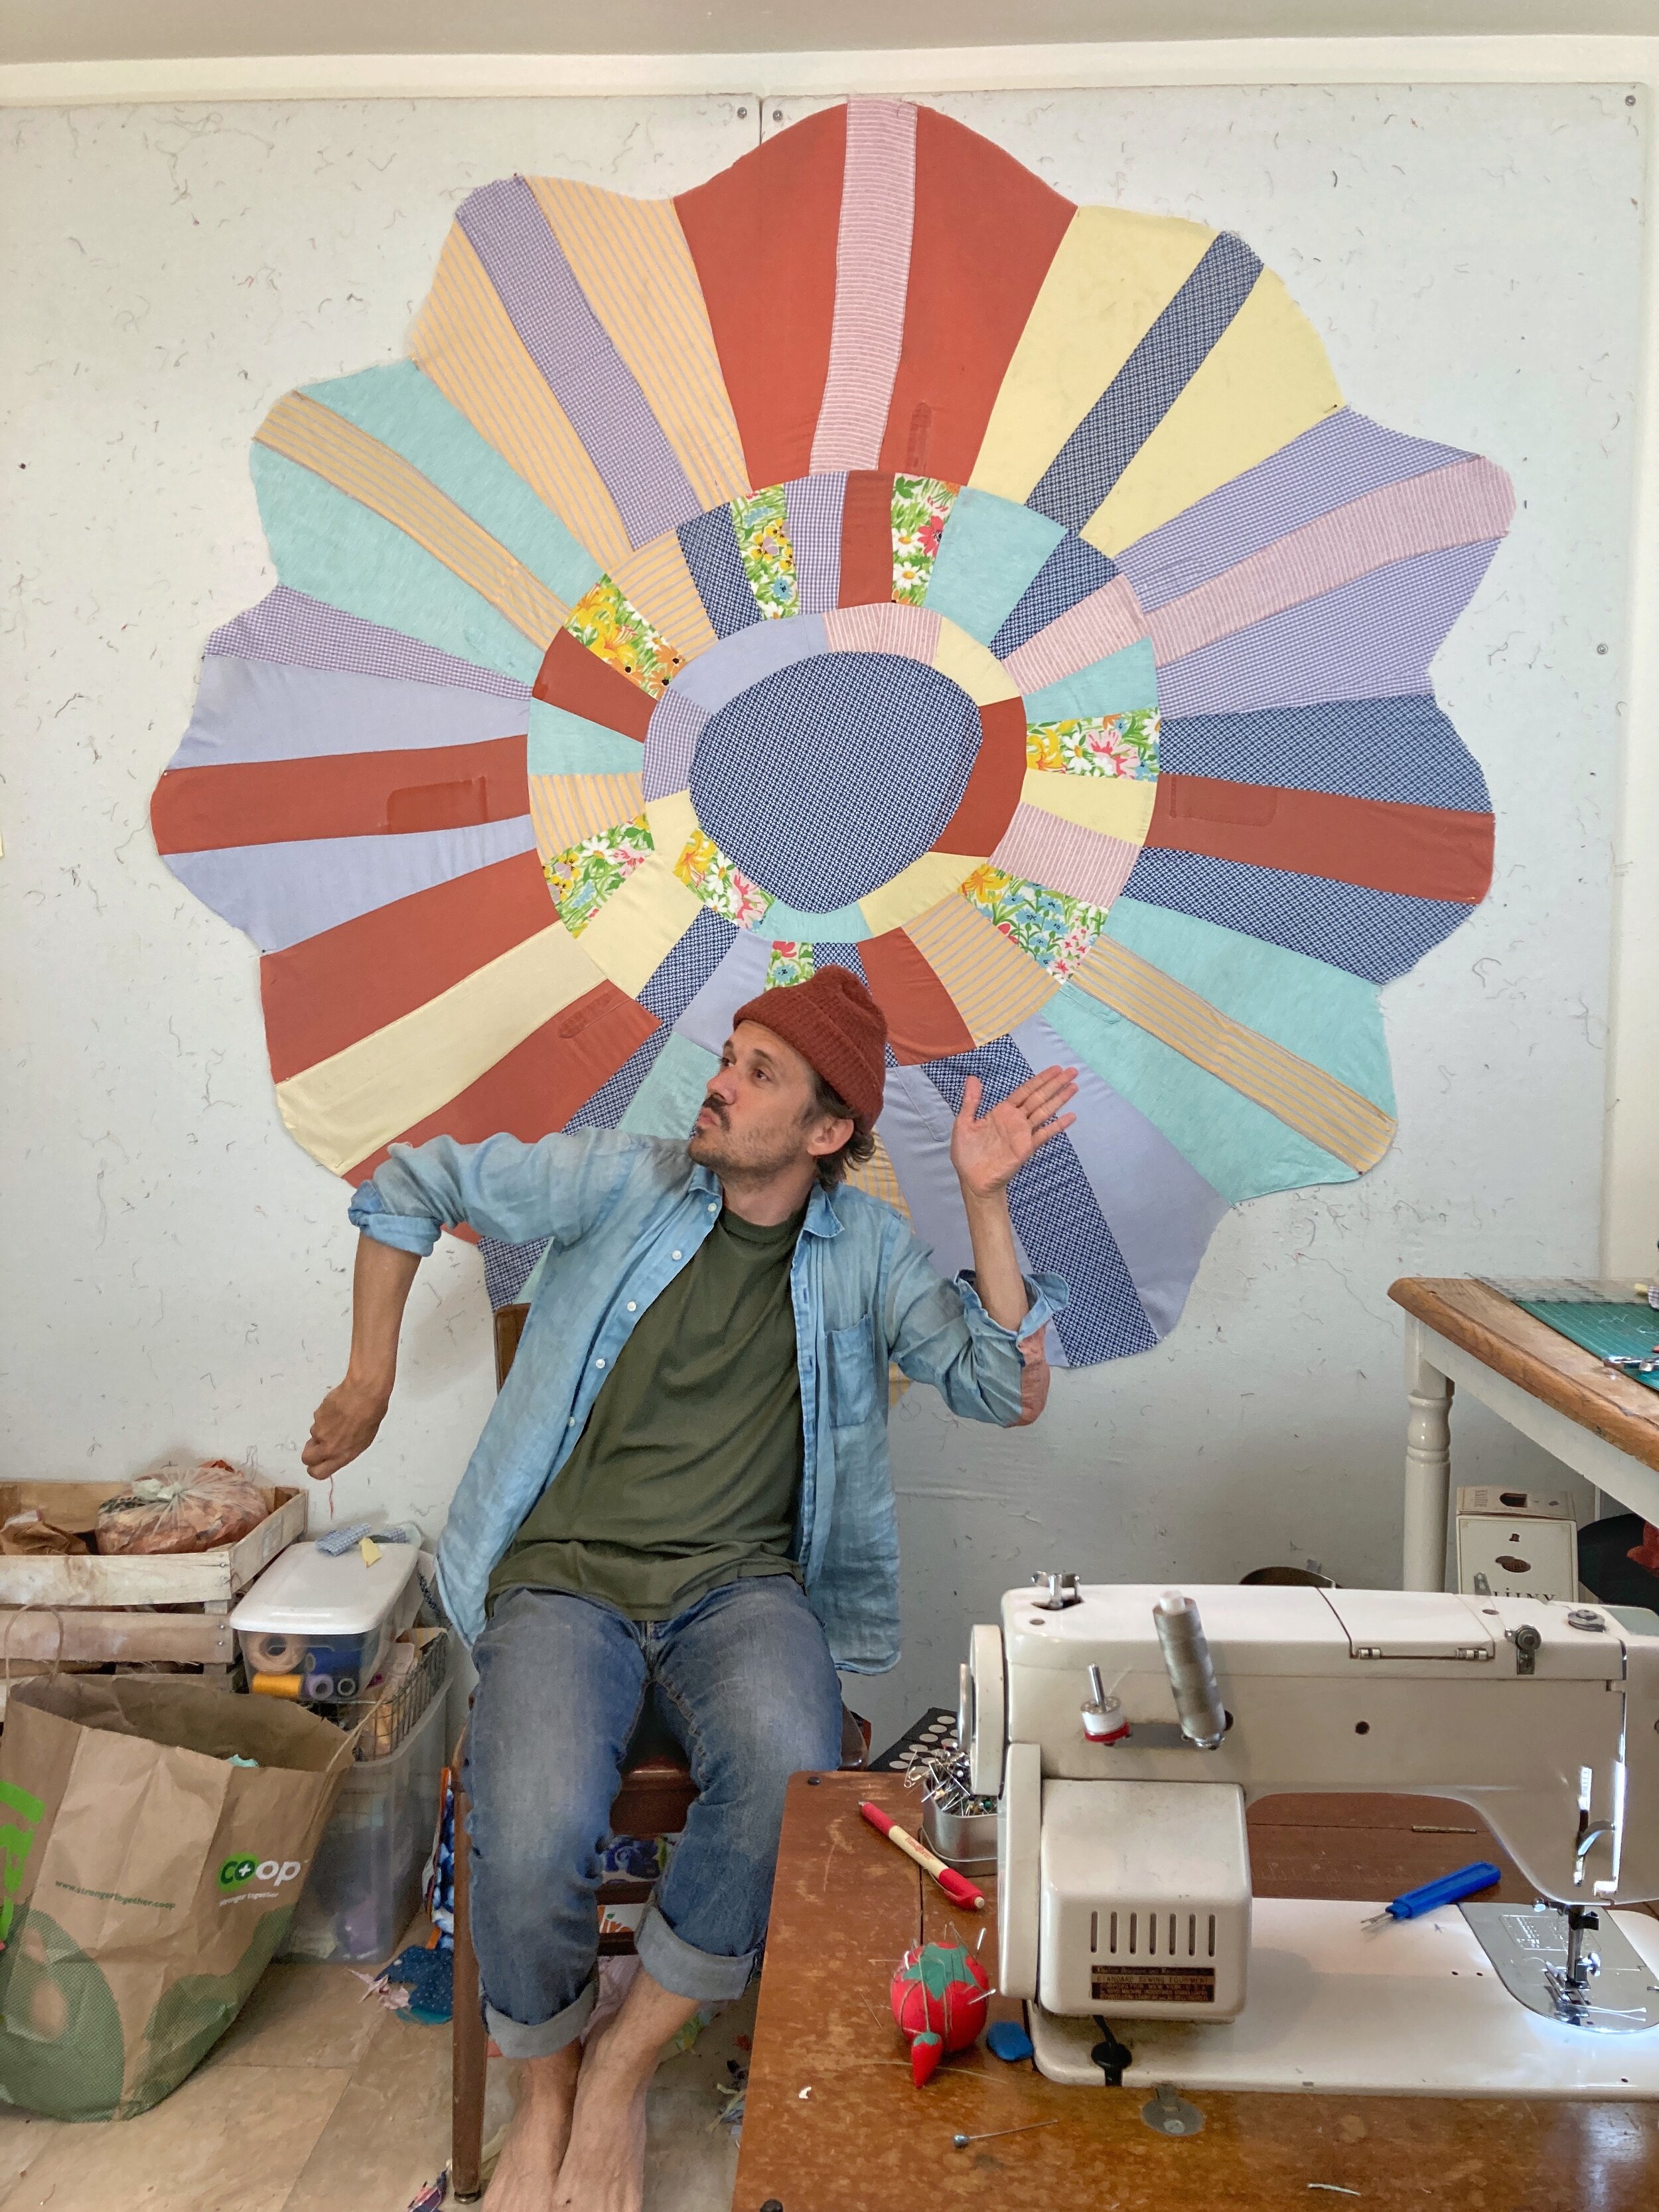
How I made my DIY quilt design wall
My design wall was a game-changer for my creative process. It allows me to step back and evaluate a composition in a way that I couldn’t when my pieces were just spread out on the floor. The critical difference is due to two factors: 1) you can see the quilt straight on. If you’re looking at a quilt top on a bed or floor, you’re looking at it from a skewed 45-degree angle, and 2) the distance you can stand back has really helped me make stronger and bolder composition choices because now all the pieces look small and manageable and it’s easy to see how they fit together.
I would recommend anyone who is interested in upping their quilt game to think about making a design wall. It can be as simple as using painters tape to adhere a flannel sheet (typically a neutral white or gray) to a flat wall, and ideally a flat wall that allows you to stand back 10-20’. You’ll find that with flannel, natural-fiber fabrics like cotton cling to the design wall so you don’t to use straight pins. It’s kinda magical.
My design wall is a little step up from taping a sheet to a wall, but not much. What I like about this kind of wall is that you can pin fabric into the foam itself, and mounting the fabric over foam boards looks more polished than a taped-up bedsheet. I got everything I needed at the home-improvement store, and it took maybe two hours to assemble and install.
Here’s what you’ll need:
two pieces of foam insulation board (4’x8’)
a California-kind size flannel sheet (neutral color)
2” wall screws and washers
duct tape
spray adhesive (optional)
To build your wall:
Use the duct tape to join the two boards side-by-side, forming an 8’x8’ square
Spread the flannel sheet out on the floor
Carefully lay the board down on top. (Optional: I used spray adhesive to make by board years ago, but when it comes time to make another one, I’ll probably opt to omit this step. The fewer industrial chemicals in my life, the better.)
Wrap the edges of the flannel sheet around the foam board and secure with duct tape.
Mount on wall with screws and washers.
And that’s it... you’ve gone a brand new design wall. Now get to quilting!

